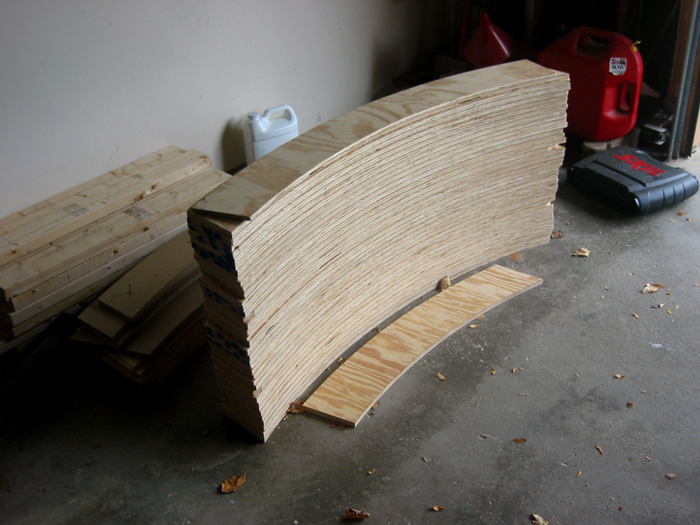
The rings, shutter arches and support ribs were made from curved arcs cut from 4’x8′ sheets of 1/2 inch plywood. They were laminated in three layers with exterior wood glue and screws.
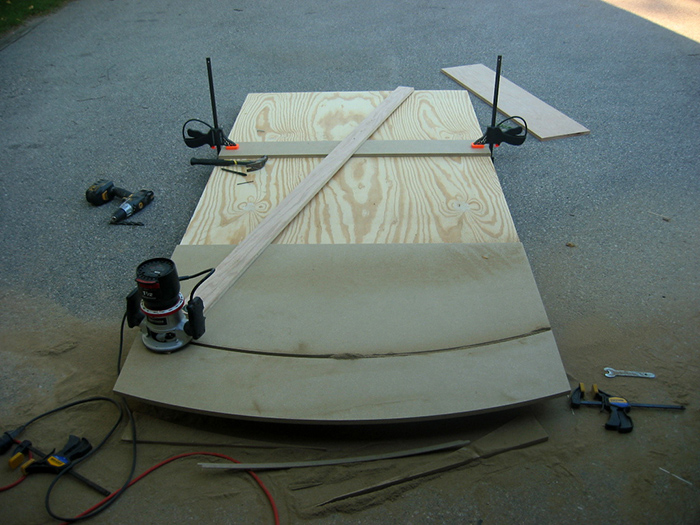
A jig was used to strike the proper arc radius of the rings, shutter arches and ribs. Three templates were cut from a 4’x8′ pressed wood sheet with a hand router.
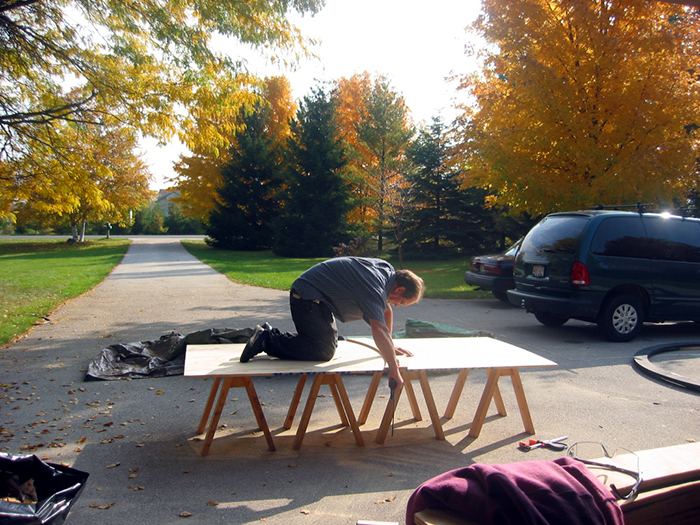
The templates were used to scribe the arcs on the plywood. The arcs were cut across the width of the sheet for the best use of material.
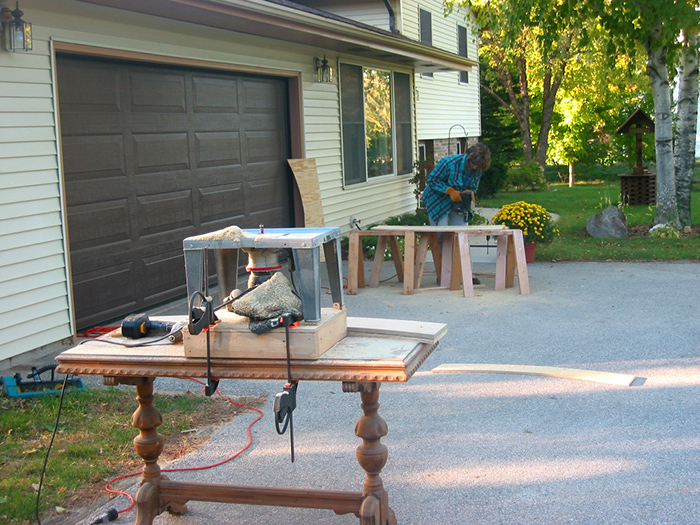
A Skil Saw cut each arc to within 1/8 inch of its final shape. The template was then secured and the rest removed with a router, so all arcs of the same radius are identical.
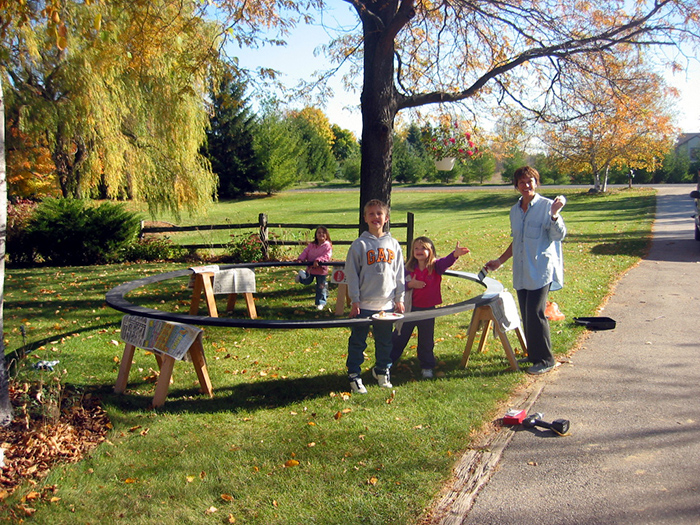
The base ring was painted before installation. Although my grandkids appear to be working really hard, I can assure you that wasn’t the case.
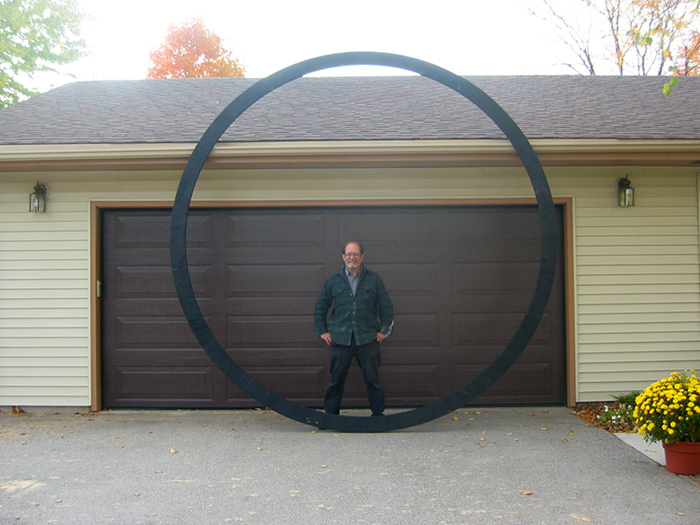
The size of the completed base ring so amazed me I couldn’t resist taking the picture. It didn’t seem that big once it was in place.
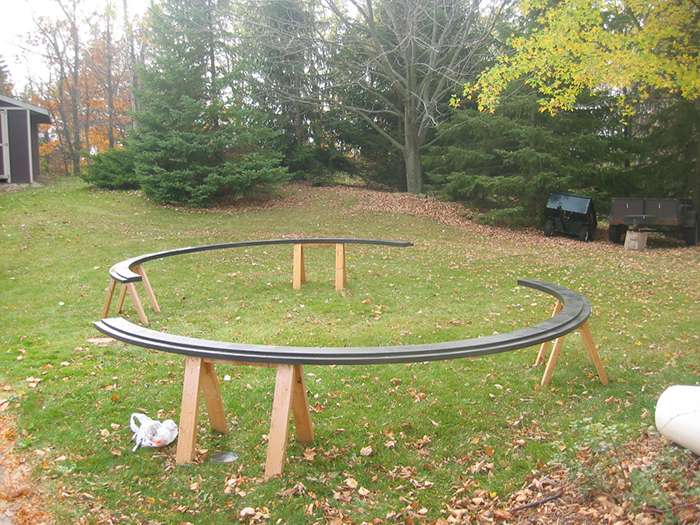
The shutter arches and dome ring establish the eventual shape and dimensions of the dome.
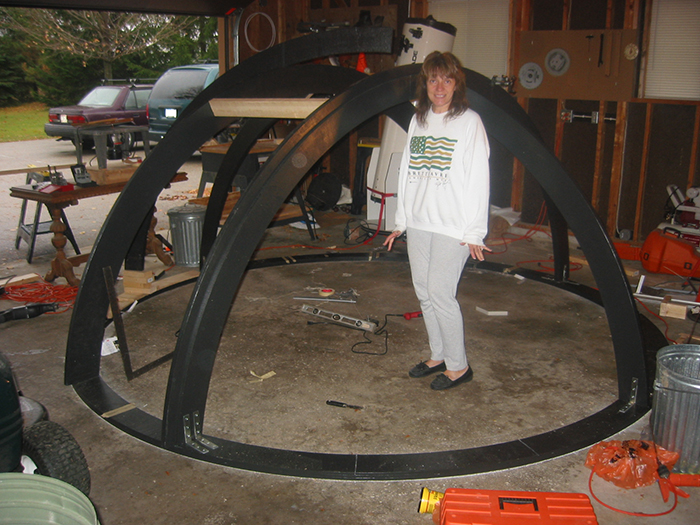
A circle the exact size of the dome and base rings was struck on the garage floor in chalk, with additional circles for the ribs of other diameters. The arc cut-outs were overlaid and laminated in place. This shows the dome superstructure taking shape. Heavy steel brackets secure the parts.
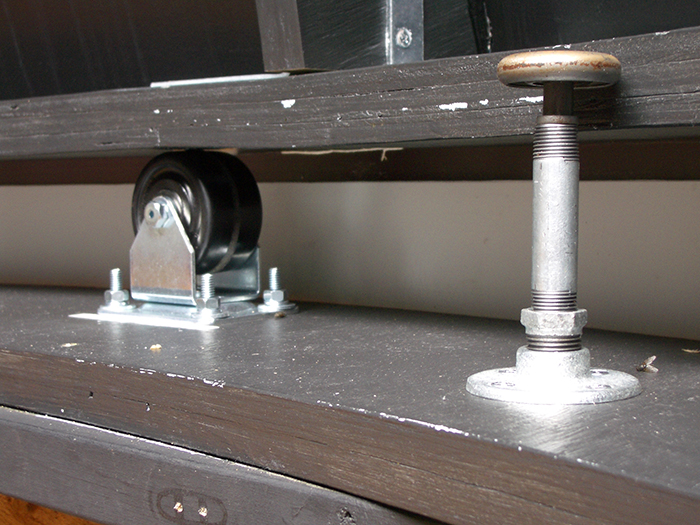
Once the base ring was installed, hardware was added for rotation: sixteen Rigid 3 inch casters with roller bearings. Garage door gliders keep the dome in position.
← Stage 2 | Back to Observatory | Stage 4 →
All photographs © Rick Kazmierski unless otherwise credited. You’re welcome to share them.

